A Barber’s Guide to Trimming Your Beard Neckline Without Mistakes
The hallmark of a well-groomed man is not just the length of his beard, but the intentionality of its boundaries. A poorly defined neckline—one that is either too high, too low, or jagged—can undermine the structure of the face and suggest a lack of attention to detail. Professional barbers view the neckline as the foundation of the beard; it provides the structural support that defines the jawline and neck transition. Mastering this requires more than just a trimmer; it requires an understanding of your own unique anatomy and the discipline to follow a systematic approach every three to five days. By utilizing the correct tools and products, such as Gold Standard Beard Oil and specialized Beard Wash, you can maintain a sharp, deliberate aesthetic that enhances your natural features.
- ›Locate the baseline by placing two fingers above the Adam’s apple to find the center mark.
- ›Map a U-shaped curve extending from behind the earlobes down to the established center point.
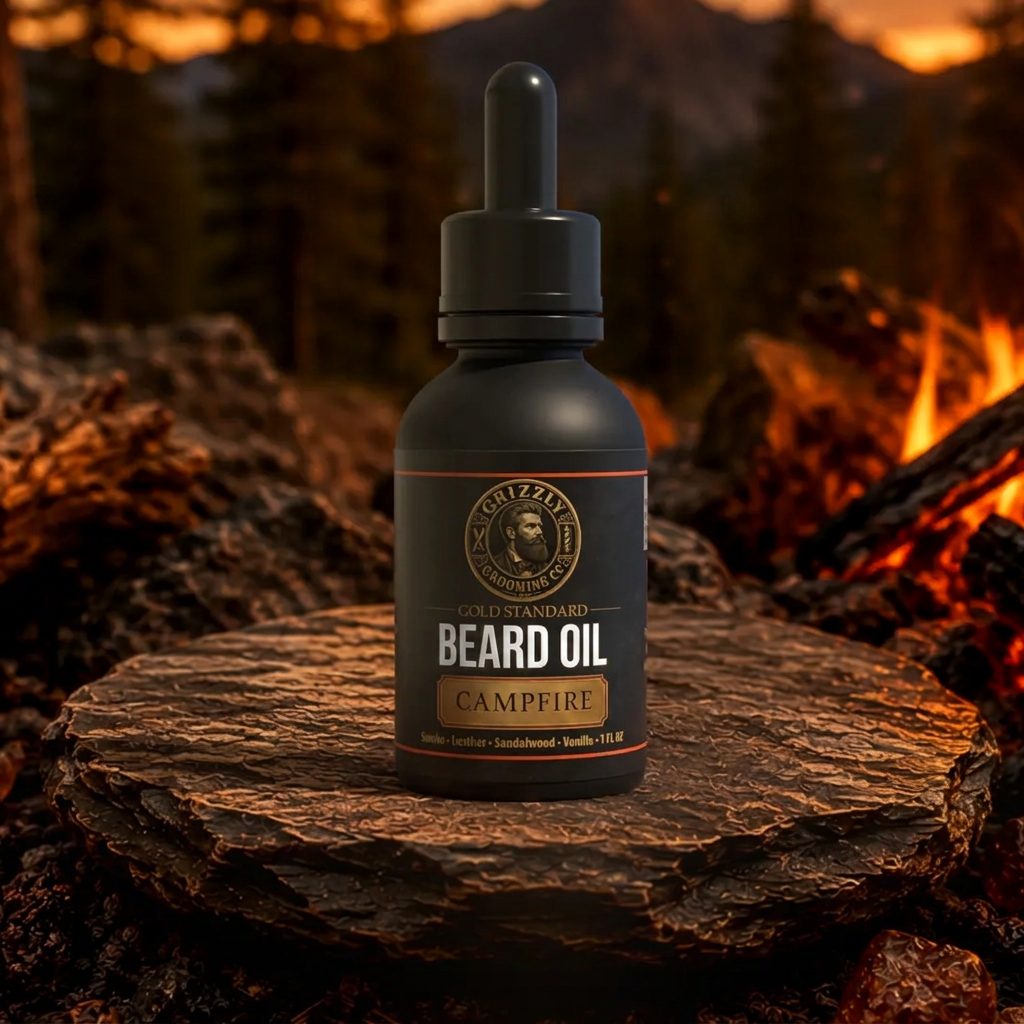
- ›Use a clear lubricant like Gold Standard Beard Oil instead of foam to maintain maximum visibility.
- ›Keep your head in a neutral, forward-facing position to prevent skin stretching and uneven lines.
- ›Taper the edges with multiple guard lengths if you prefer a natural fade over a hard line.
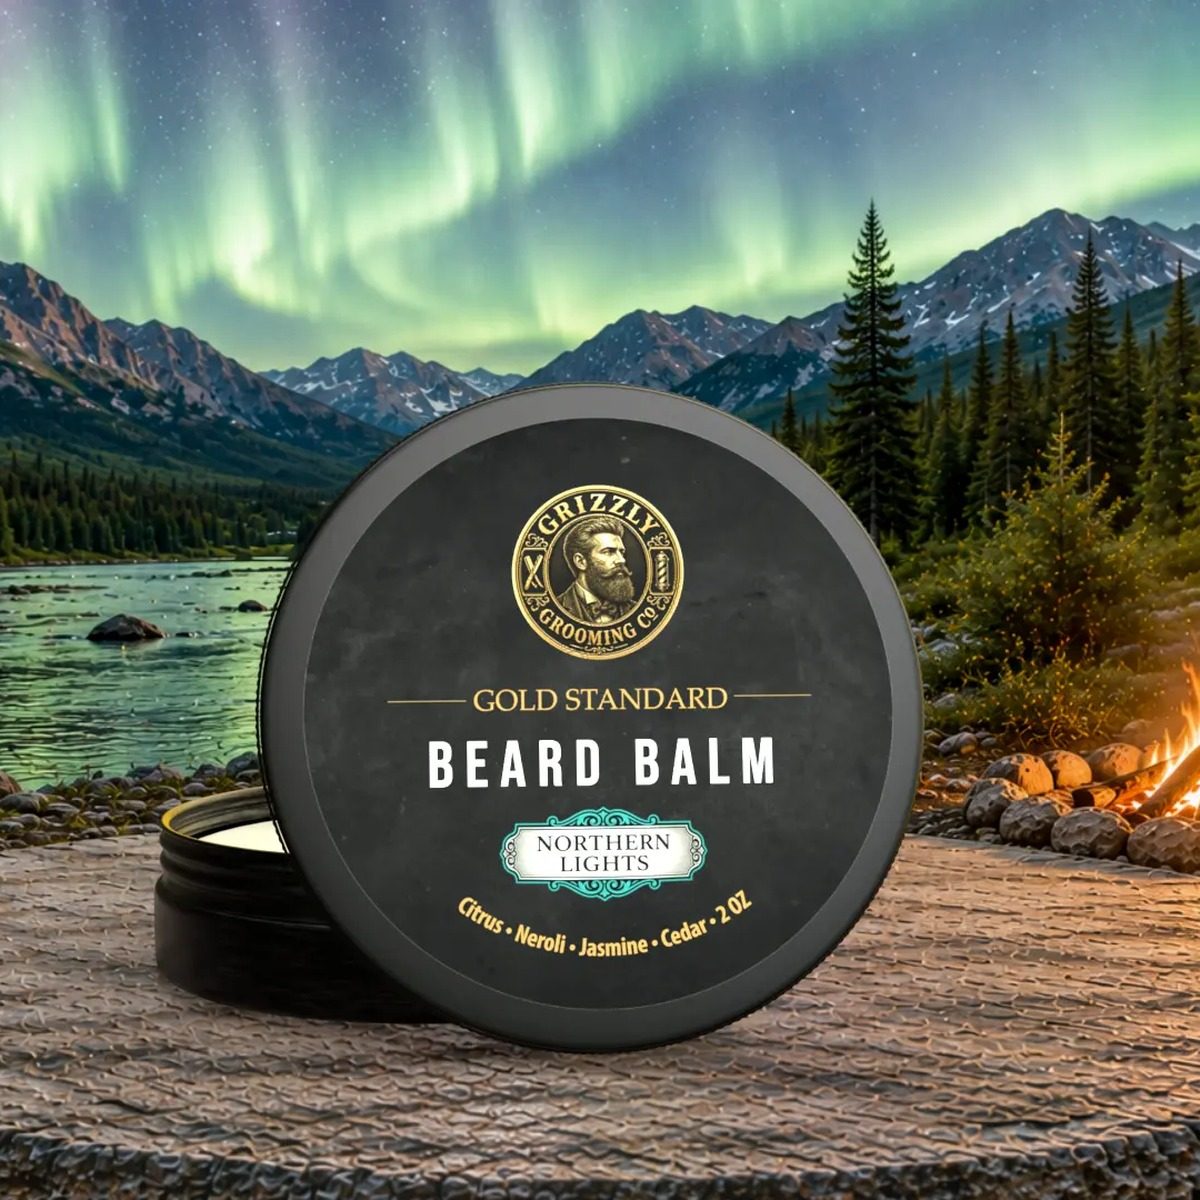
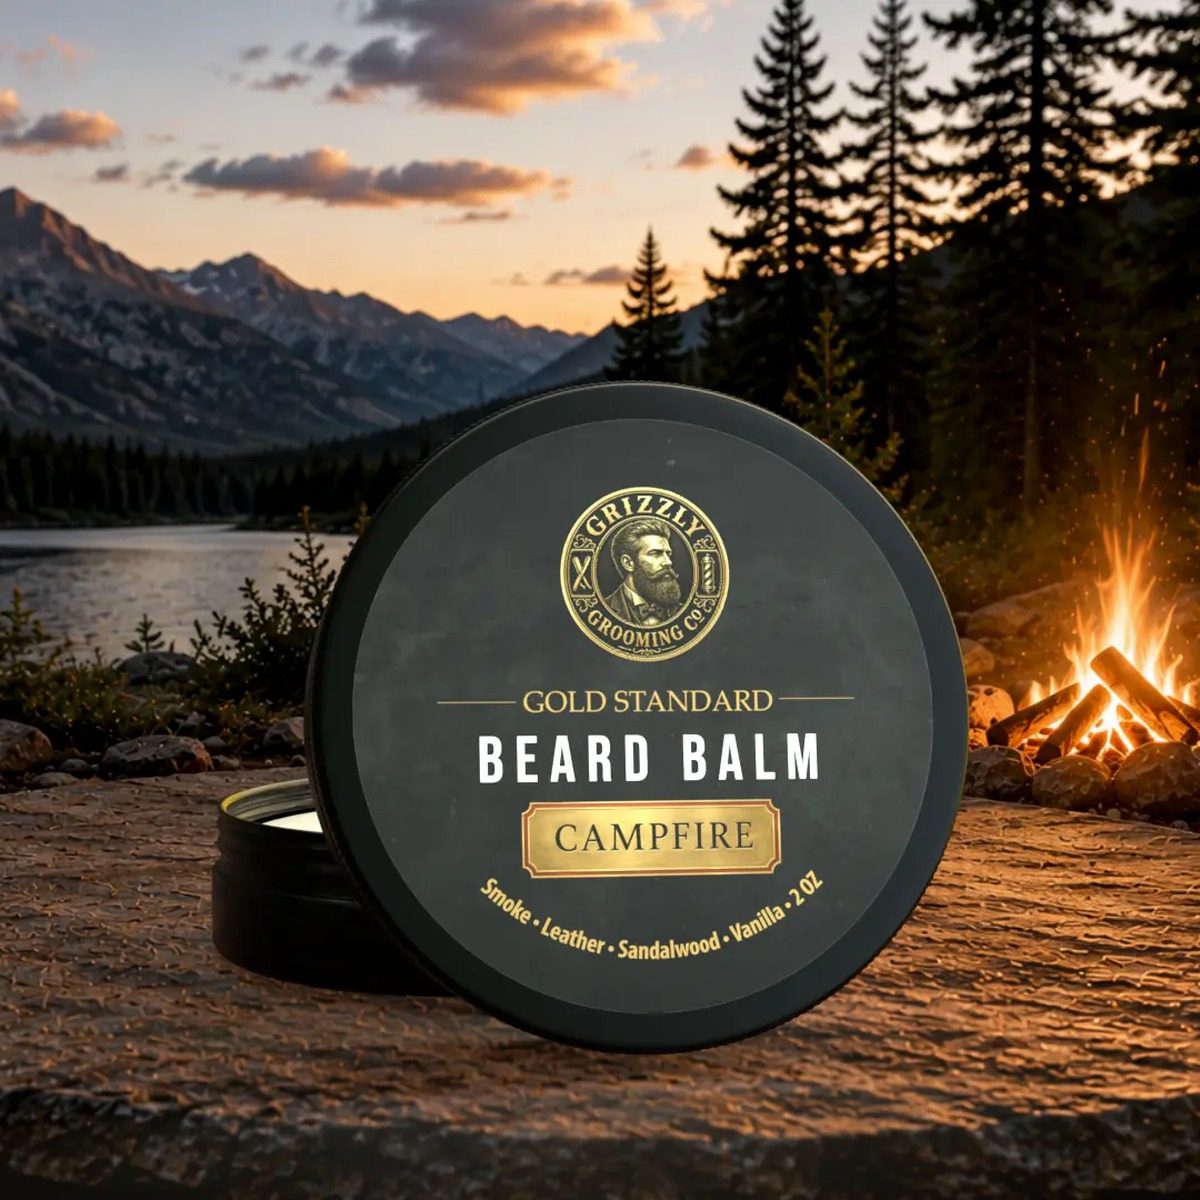
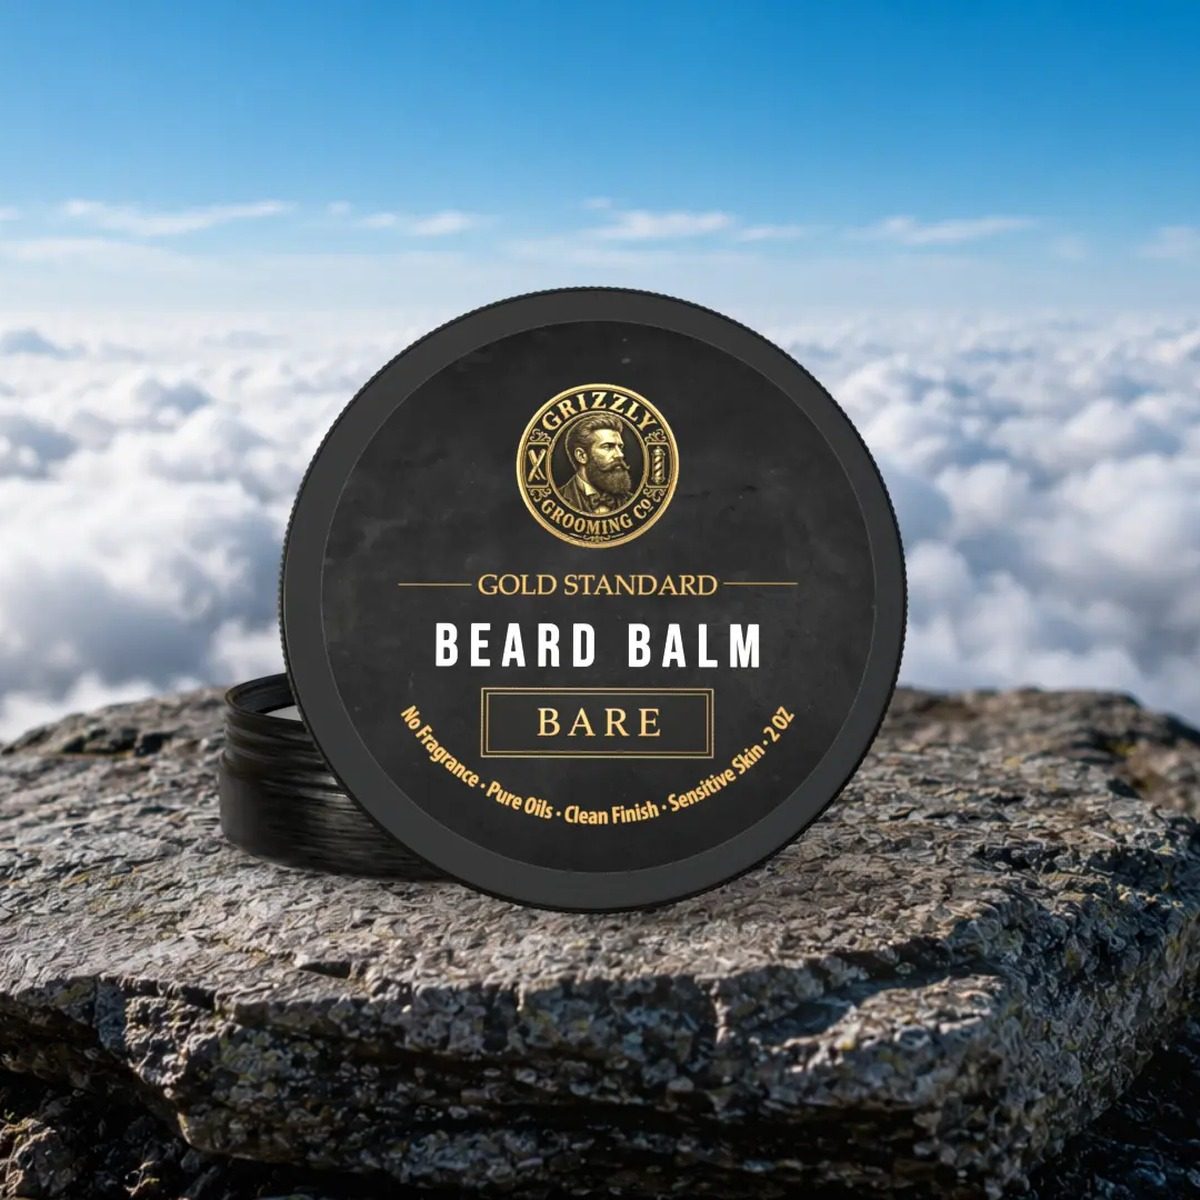
- ›Apply Beard Balm immediately post-trim to soothe the skin and lock in moisture.
Anatomical Mapping and Finding Your Baseline
Before the first blade touches your skin, you must identify your anatomical landmarks. The most common error is following the jawline itself, which results in a 'floating' beard that appears too small for the face. Instead, stand in front of a mirror with your head level. Place two fingers—your index and middle—horizontally above the highest point of your Adam's apple. The spot where your top finger rests is your center point. This is the absolute lowest point your beard should reach on your neck.
Once this center point is identified, you must visualize the curve. Imagine a line starting behind your earlobe, following the natural crease where your neck meets your jaw, and sloping down to meet that center point above the Adam's apple. This creates a 'U' shape. For those with a more angular face shape, a slightly more squared 'V' shape may be appropriate, but the 'U' remains the standard for a classic, professional aesthetic that accommodates natural head movement.
Depth is also a factor of beard length. If you are sporting a short corporate beard or heavy stubble, the neckline can be slightly higher and more defined. However, for a full-grown beard, a lower neckline is required to provide the 'bulk' that supports the hair hanging from the chin. If you trim too high on a long beard, you risk creating a transparent or 'wispy' bottom edge that lacks the density necessary for a full, healthy appearance.
Visibility during this stage is paramount. Do not rely on a single bathroom mirror. Use a handheld mirror in conjunction with your wall mirror to view your profile from both the left and right sides. This three-dimensional perspective ensures that the line remains symmetrical and that you aren't inadvertently carving deeper into one side of your neck due to the angle of your reach or the dominant hand you are using.
Preparation Tools and Skin Readiness
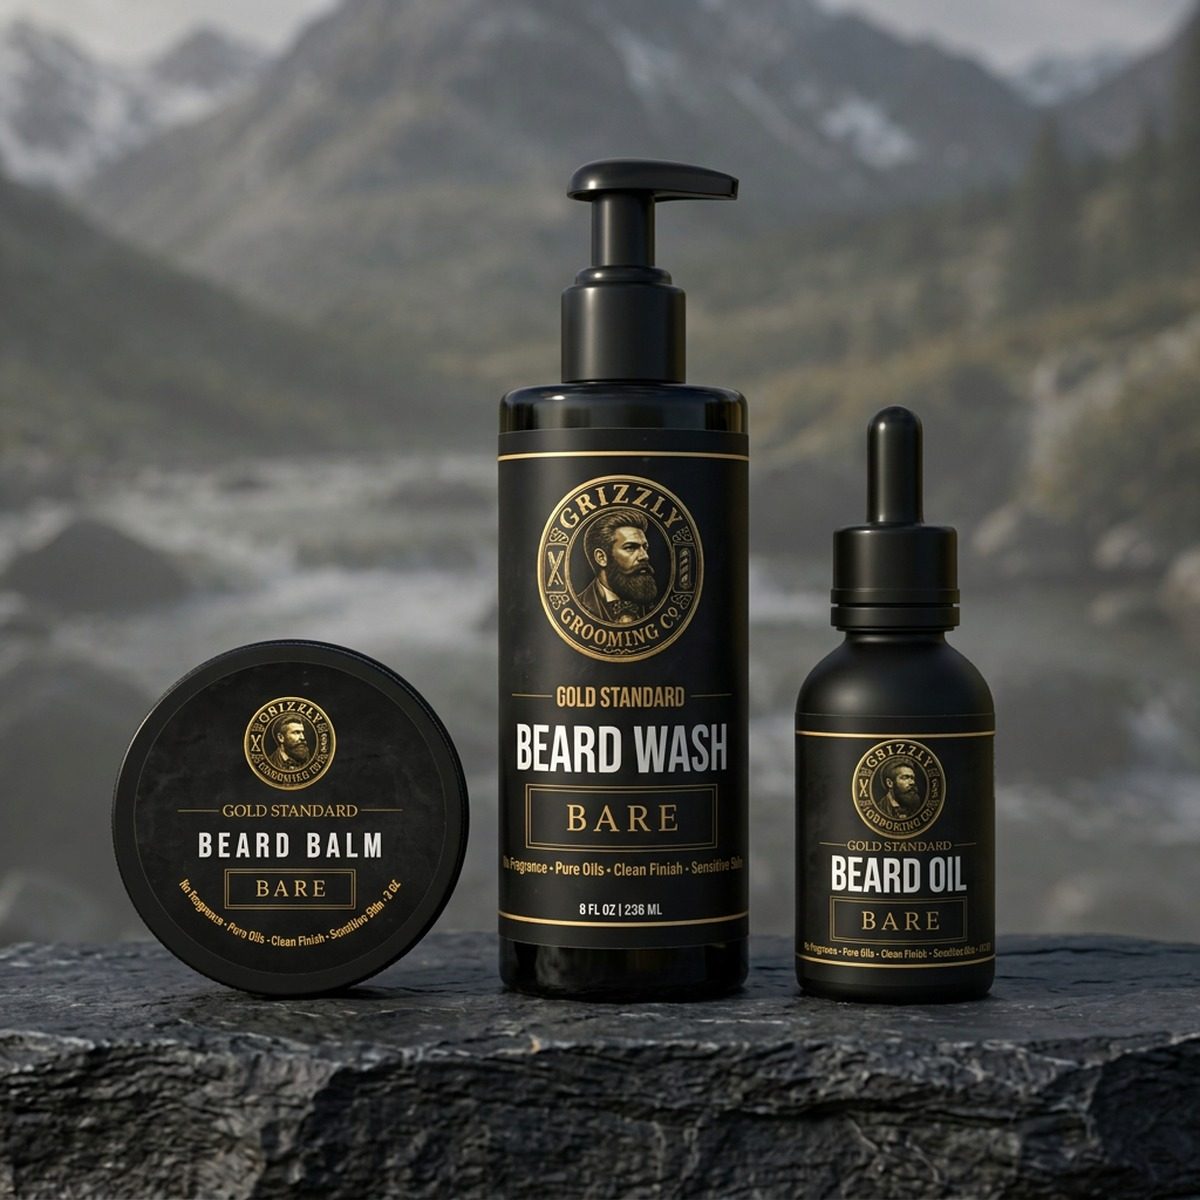
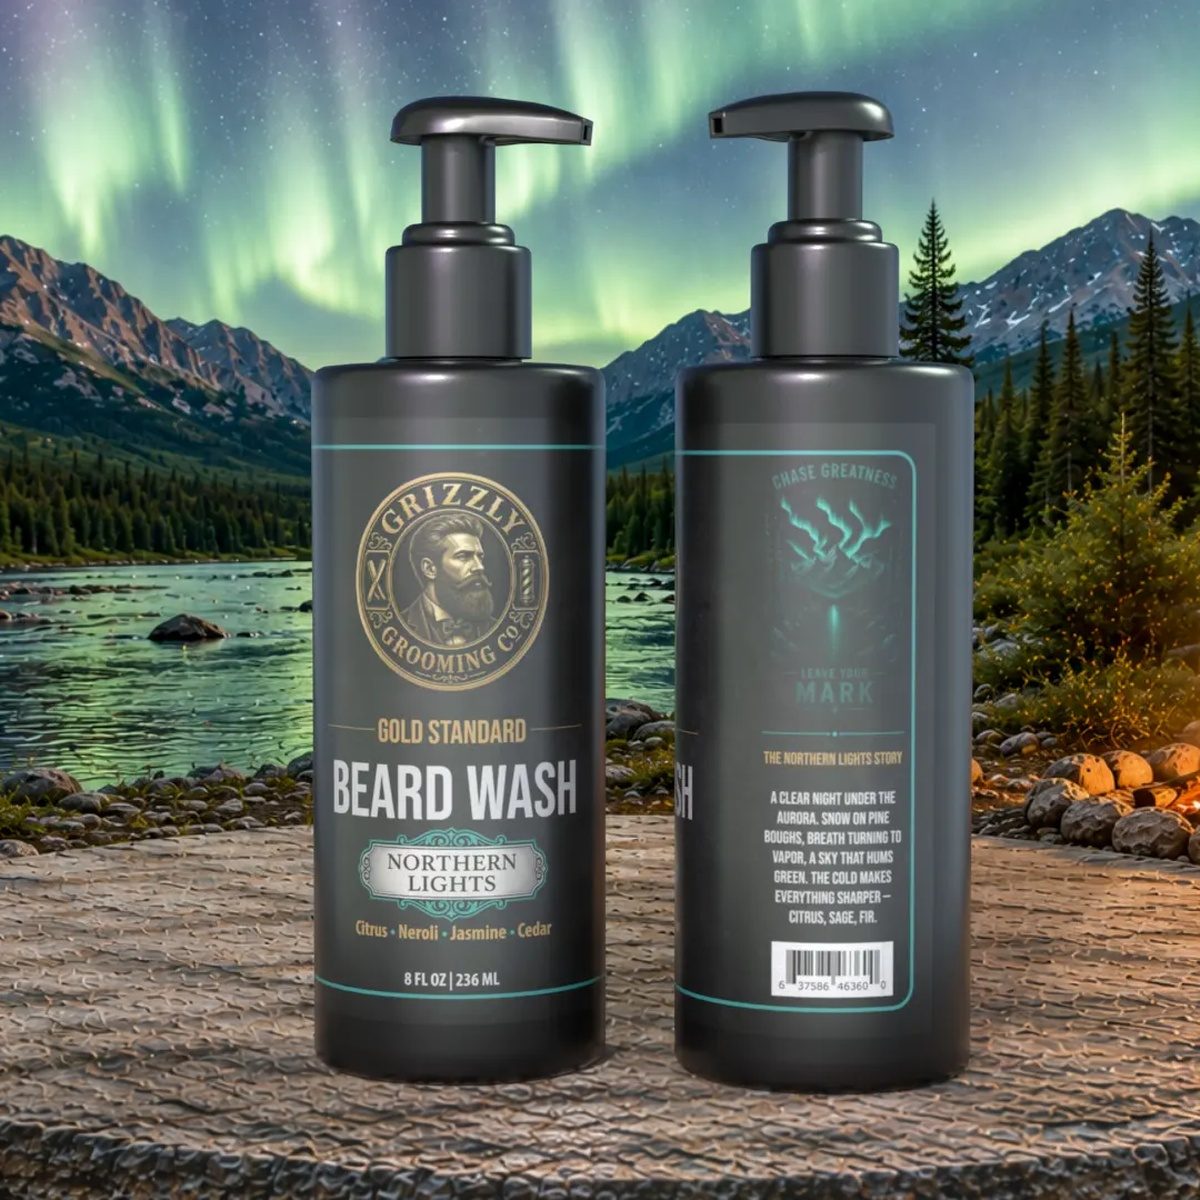
A successful trim begins with clean, soft hair. Use a dedicated Beard Wash to remove sebum, dust, and environmental pollutants that accumulate in the follicles. Unlike standard hair shampoo, which can contain harsh sulfates like Sodium Lauryl Sulfate that strip the face of necessary oils, a quality beard wash uses gentler surfactants. Rinse with warm water—approximately 100 to 105 degrees Fahrenheit—to soften the hair cuticles and open the pores without causing thermal irritation.
After washing, pat the beard dry. Never trim a wet beard, as hair expands when wet and shrinks as it dries; trimming wet hair often leads to taking off more length than intended. Once dry, apply 3-5 drops of Gold Standard Beard Oil to the neck area. The oil serves two purposes: it softens the terminal hairs for a cleaner cut and acts as a transparent lubricant. Traditional shaving creams create a thick lather that obscures the very line you are trying to define, leading to guesswork and errors.
Your choice of hardware is equally important. For the initial bulk removal, a professional-grade trimmer with a T-blade is recommended for its precision. Ensure your blades are zero-gapped if you want a crisp line, but be cautious of skin sensitivity. For those with reactive skin, a foil shaver is a better finishing tool than a traditional razor, as it removes hair at the skin level without the blade-on-skin friction that causes razor bumps or folliculitis.
Check your lighting before you start. Overhead lighting creates shadows that can make the neckline appear lower than it actually is. Ideally, you want front-facing, neutral-temperature light that illuminates the underside of the jaw clearly. If your bathroom lighting is poor, a portable LED grooming mirror can provide the necessary clarity to see fine, light-colored hairs that might otherwise be missed during the trimming process.
The Technical Execution of the Trim
The first step in the physical trim is 'bulk clearing.' Using your trimmer with a guard that matches your current beard length, trim everything below your intended neckline to remove the mass. This allows you to see the skin clearly. Once the bulk is gone, remove the guard. Hold the trimmer with the teeth facing the skin and start at the center point above the Adam's apple. Make a small, deliberate mark to serve as your anchor.
Work from the center toward the ear on one side. Use short, downward strokes rather than trying to draw a single continuous line. A continuous stroke is prone to following the tremors of your hand or the uneven surface of the neck. By using 'tapping' motions, you create a series of small, connected dots that form a perfect line. Once one side is complete, return to the center and work toward the opposite ear to ensure symmetry.
During the process, maintain a neutral head position. It is a natural instinct to tilt your head back to see the neck better, but this stretches the skin. When you return your head to a normal position, the skin bunches back up, and your straight line will suddenly look crooked or wavy. Keep your chin level and use your eyes and mirrors to navigate. If you must tilt, do so only for the bulk removal, then level out for the final line definition.
If you encounter cowlicks or hair growing in multiple directions—a common occurrence on the neck—do not press harder. Instead, change the direction of your trimmer to cut against the grain of those specific hairs. Applying excessive pressure to the neck is the primary cause of 'neck burn' and ingrown hairs. Let the sharpness of the blade do the work. If the blade is pulling, it is time to clean the trimmer head or replace the blade entirely.
Fading and Tapering for a Natural Look
For men who prefer a softer transition, a 'hard line' can sometimes look too artificial. Fading the neckline involves a graduation of hair lengths that mimics natural growth. Start by establishing your base line with no guard. Then, attach a #1 guard (1/8 inch) and trim about half an inch upward into the beard. This creates a slight step-up in length that begins the transition from bare skin to full beard.
Next, move to a #2 guard (1/4 inch) and trim another half-inch upward. The goal is to blend these sections so there is no discernible 'step' between them. Use a flicking motion with your wrist—moving the trimmer away from the face as you reach the top of each stroke—to blend the lengths. This technique, often used by professional barbers, prevents the creation of new lines and ensures a smooth gradient of density.
If your beard is significantly longer, you may need to go up to a #3 or #4 guard to complete the blend. Always work from the shortest guard at the bottom to the longest guard as you move up toward the jawline. For the final touch, use a beard comb to lift the hair and see if any stray long hairs are poking through the fade. Use your trimmers to 'clip over comb' to remove these outliers without risking a gouge in the main body of the beard.
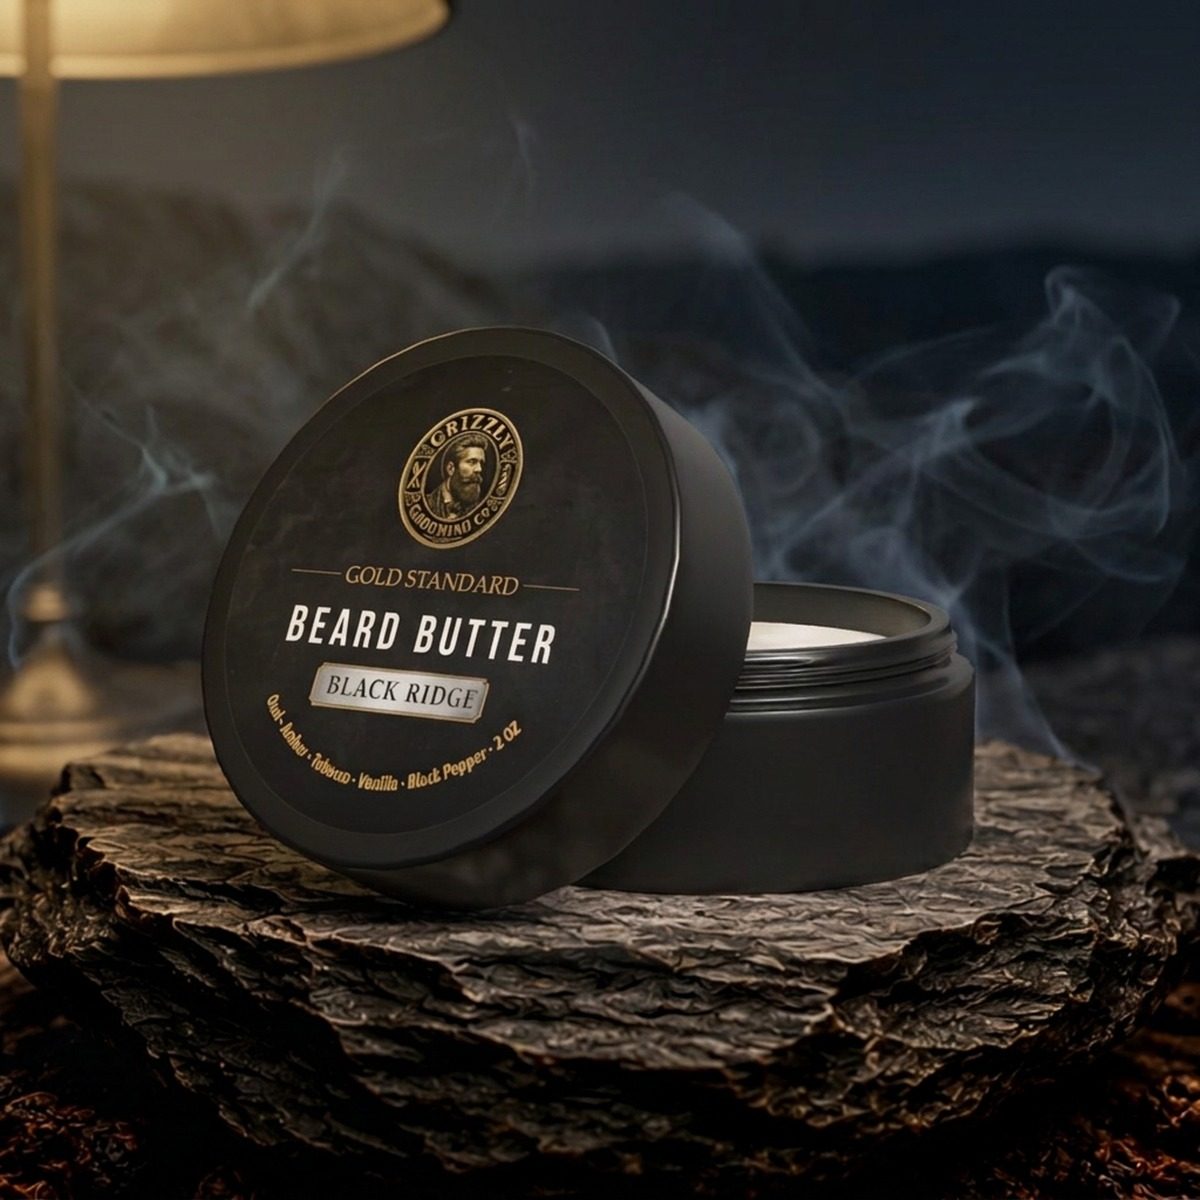
Tapering is particularly effective during winter care. As the air becomes drier, the skin on the neck can become more prone to flaking and irritation. A faded neckline requires less frequent 'skin-close' shaving than a hard line, reducing the frequency of mechanical exfoliation and allowing the skin's natural moisture barrier to remain intact. Use a dab of Beard Butter on the faded area to keep the shorter hairs soft and prevent them from becoming 'prickly' against your collar.
Correcting Common Neckline Mistakes
The most frequent error is the 'High-Water Mark,' where the neckline is trimmed into the jawline or onto the cheeks. If you realize you have gone too high, the first rule is to stop immediately. Do not attempt to match the other side to the error, as you will likely end up with a beard that looks like a thin strap. Instead, leave the error as is and let it grow. Within 7 to 10 days, the stubble will begin to fill back in.
To disguise a high trim during the regrowth phase, use Beard Balm. The waxes in the balm provide enough hold to style the longer hairs above the mistake downward, effectively 'shingling' the area to cover the gap. You can also use a matte beard filler or a dark eyebrow pencil in a shade matching your hair to lightly fill in the skin where the hair was accidentally removed, though this should be done sparingly to maintain a natural look.
Another common mistake is the 'Wavy Line,' caused by following the contours of the neck muscles or Adam's apple too closely. To fix this, you must find the highest point of the 'wave' and bring the rest of the line up to meet it. This will result in a slightly higher neckline than originally intended, but a straight, high line always looks more professional than a wobbly, low one. Use a straight edge, like a comb or a dedicated beard shaping tool, as a physical guide.
If you experience significant irritation or 'razor burn' after a trim, do not attempt to re-trim the area for at least a week. The skin needs time to heal. Apply a Goat Soap Bar lather to the area during your next shower; the natural fats and minerals help soothe inflammation. Avoid using products with high alcohol content, such as traditional aftershaves, which will further dehydrate the damaged tissue and prolong the redness.
Advanced Detailing with Razors and Foils
Once the line is established with trimmers, the 'clean-up' phase begins. For a truly professional finish, the skin below the line should be as smooth as possible. A foil shaver is the safest tool for this, as the micro-thin foil prevents the blades from making direct contact with the skin, virtually eliminating the risk of nicks. Move the foil shaver in circular motions below the neckline to remove the 'stubble dust' left behind by the trimmers.
If you prefer a traditional safety razor or a straight razor, prep the skin again with a warm compress. A warm, damp towel applied for 60 seconds will further soften the hair and relax the follicles. Apply a thin layer of Gold Standard Beard Oil or a clear shave gel. Unlike the initial trim, you should now shave with the grain—the direction the hair grows—to minimize irritation. On the neck, hair often grows upward or sideways, so observe the direction carefully.
After the first pass with a razor, if you desire a closer finish, re-lather and shave across the grain. Avoid shaving against the grain on the neck, as this is the primary trigger for ingrown hairs (pseudofolliculitis barbae). The skin on the neck is thinner and more mobile than the skin on the cheeks, making it much more susceptible to the hair being cut below the skin line and then becoming trapped as it regrows.
The final detail is the 'back corner' where the neckline meets the vertical line behind the sideburns. This should be a soft curve, not a sharp 90-degree angle. A sharp angle can look aggressive and unnatural as the head moves. Use the corner of your trimmer blade to gently round off this intersection, ensuring it aligns with the back of your earlobe for a balanced profile view.
Post-Trim Care and Skin Recovery
The moment the trim is finished, the recovery phase begins. Rinse the neck with cold water. This helps to constrict the blood vessels and reduce any immediate redness. Pat the area dry with a clean, lint-free towel. Avoid rubbing, as the skin is currently in a sensitized state from the mechanical action of the blades. Any friction at this stage can lead to immediate inflammation.
Apply a post-shave treatment that focuses on hydration. This is where Gold Standard Beard Balm or Beard Butter is highly effective. These products contain shea butter and carrier oils that mimic the skin's natural sebum, providing a protective barrier against the elements. If you are prone to breakouts in the neck area, look for products containing tea tree oil or jojoba oil, which provide antimicrobial properties without clogging the pores.
For men who wear collared shirts, the friction of the fabric against a freshly trimmed neck can be a major source of discomfort. To mitigate this, ensure the area is well-lubricated with a premium deodorant or a light balm to reduce skin-to-fabric friction. If possible, avoid wearing a tie or a tight collar for the first few hours following a deep neckline trim to allow the skin to breathe and recover.
Consistency in your routine is key to avoiding the 'itchy' phase of regrowth. When hair is cut, the ends are sharp. As they grow and the neck moves, these sharp ends poke the opposite side of the skin fold, causing irritation. By applying beard oil daily, you keep these hair tips soft, significantly reducing the discomfort associated with the 48-hour mark after a trim.
Adapting the Neckline for Different Beard Lengths
A 'Stubble Beard' (1mm to 3mm) requires the most frequent neckline maintenance. Because the hair is so short, any stray growth on the neck is immediately visible. For this length, the neckline should be very crisp. However, avoid going too deep; a stubble beard that stops exactly at the jawline can look like a costume. Keep the line about one finger width above the Adam's apple for a natural shadow effect.
The 'Corporate Beard' (1cm to 2cm) is the sweet spot for a defined neckline. At this length, you have enough density to create a very clean 'U' shape. This is the ideal length for the fading technique mentioned earlier. By tapering the last half-inch of the beard, you ensure that the transition from the groomed beard to the clean neck looks intentional and polished, fitting for a professional environment.
The 'Yeard' or Full Long Beard (5cm+) changes the rules of the neckline. As the beard gains length and weight, the hair hangs down and covers the neck entirely. In this case, the neckline's primary purpose is to remove 'bulk' that makes the neck feel hot or itchy, rather than for aesthetics. You can actually afford a slightly lower neckline here, as the overhanging hair will hide the boundary. Focus on clearing the area around the Adam's apple to prevent 'neck-beard' sprawl.
Regardless of length, the 'side-to-neck' transition must remain consistent. The vertical line coming down from the back of your sideburns should meet the neckline behind the jaw. If you have a very long beard, this vertical line should still be maintained to keep the beard from looking like it is growing into your hair. Use a Premium Deodorant on the skin behind the ears to manage moisture in the areas where the beard and head hair meet.
Frequently Asked Questions
How often should I trim my neckline?
For a sharp, professional look, the neckline should be maintained every 3 to 5 days. Neck hair grows at different rates and directions, so regular touch-ups prevent the 'unkept' appearance that occurs when stray hairs begin to bridge the gap between your beard and chest hair.
What do I do if I trim the line too high?
Stop immediately and do not try to even out the other side. Let the hair grow back for two weeks, using a Beard Balm to style the longer hairs downward to camouflage the gap. You can also use a matching beard pencil for temporary correction, but patience is the only true fix.
Should I look up or look straight when trimming?
Always maintain a neutral, straight-ahead gaze when setting the final line. Tilting your head back stretches the skin on your neck; when you level your head again, the skin bunches and the line will appear crooked. Use a hand mirror to see your profile while keeping your chin level.
Can I use regular soap to wash my beard before trimming?
It is not recommended, as standard bar soaps often contain harsh detergents that strip the skin and hair of natural oils, leading to irritation during the trim. Use a dedicated Beard Wash or a Goat Soap Bar, which contains fats that nourish the skin and soften the hair for a smoother cut.
Why do I get red bumps on my neck after trimming?
Red bumps are usually the result of 'razor burn' or ingrown hairs caused by dull blades, excessive pressure, or shaving against the grain. To prevent this, use Gold Standard Beard Oil as a lubricant, ensure your blades are sharp, and always shave with the grain on the sensitive neck area.
Is a faded neckline better than a solid line?
It depends on your beard length and style. A solid line looks more formal and structured, while a fade looks more natural and requires less frequent 'skin-close' maintenance. A fade is generally recommended for men with sensitive skin to reduce the frequency of irritation.
Build your ritual in 60 seconds.
Answer four questions and get a custom regimen built around your beard and routine.
Start The Ritual Builder